Many of us love kicking off the holiday season by decorating with our cherished seasonal items, adding beauty and fun to the cooler, shorter days ahead. While it’s exciting to shop for new pieces, rising prices can make it less practical. Luckily, there’s an easy and affordable way to refresh your old decor! These simple steps will show you how to decoupage your Halloween decorations using napkins and Mod Podge, transforming them to reflect your unique style and personality. Plus, the kids will love joining in on the fun!

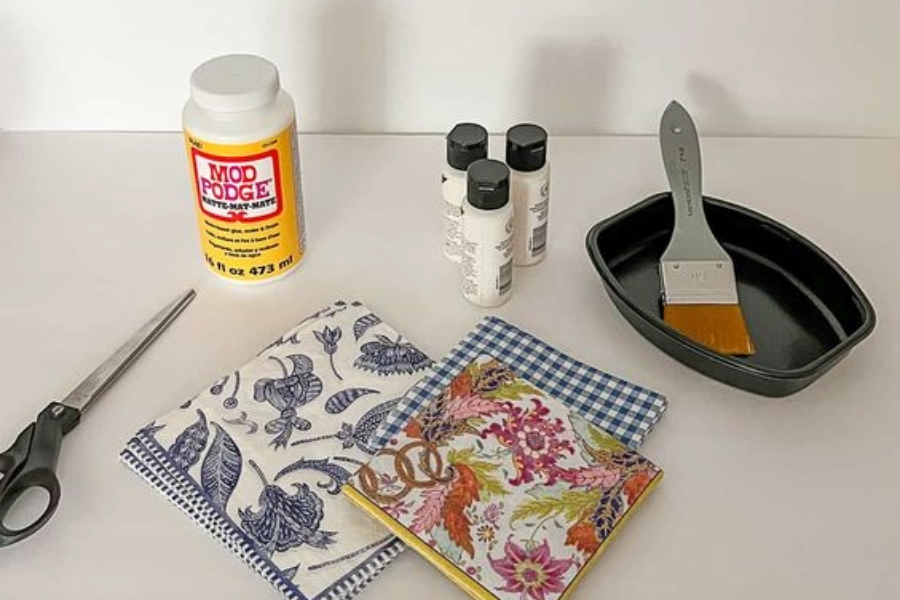
Supplies Needed:
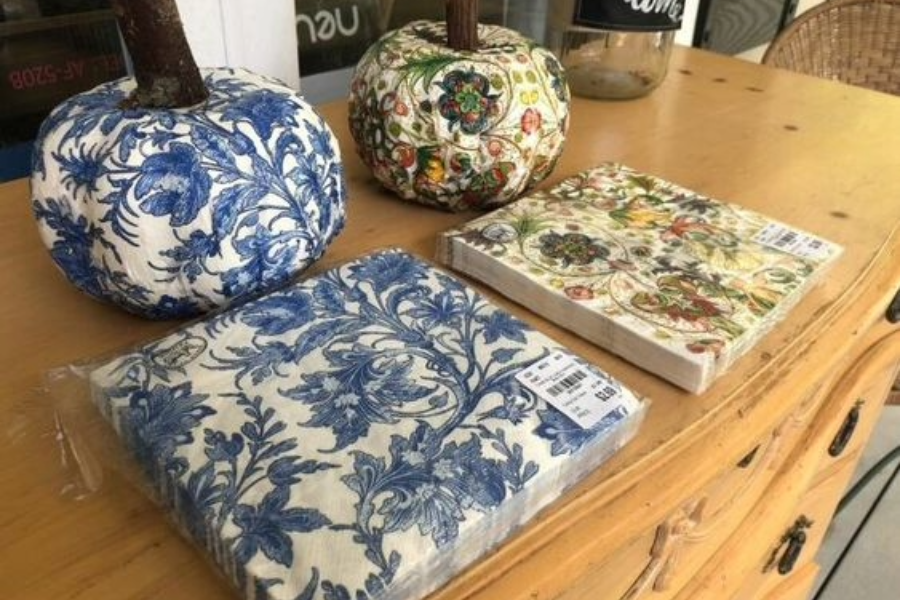
- Pumpkins (real or faux) or any Halloween decor (wood, plastic, etc.)
- Decorative napkins (seasonal patterns work great)
- Mod Podge (Matte or Gloss finish)
- Foam brush or paintbrush
- Scissors (for cutting napkins)
- Optional: Acrylic paint (for base coating)
Instructions:
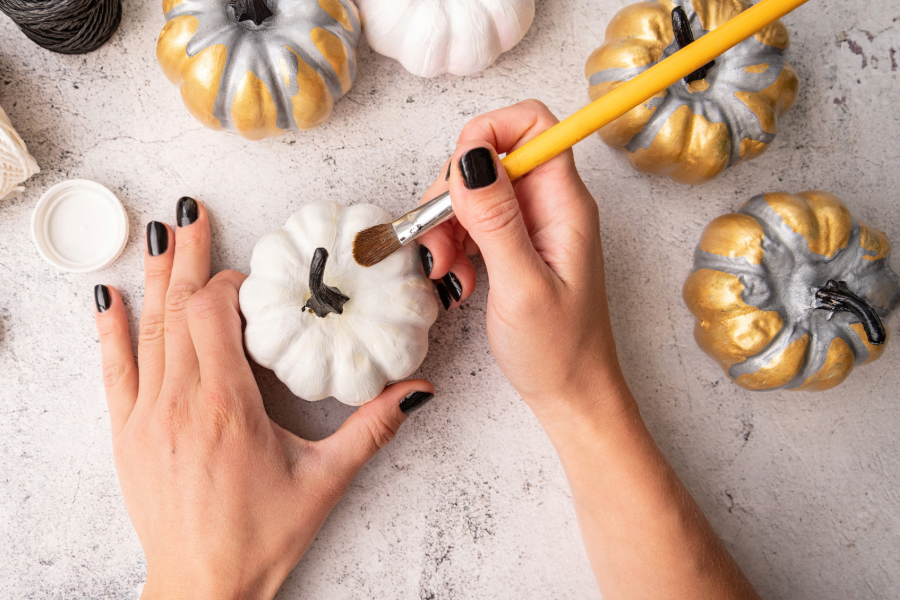
1. Prep the Pumpkin or Decor Item
- If you are using a real pumpkin, make sure it’s clean and dry. For faux pumpkins or other decor, clean the surface to remove dust or dirt.
- Optionally, you can paint the item with a base color using acrylic paint to match the napkin’s pattern (e.g., white or orange).
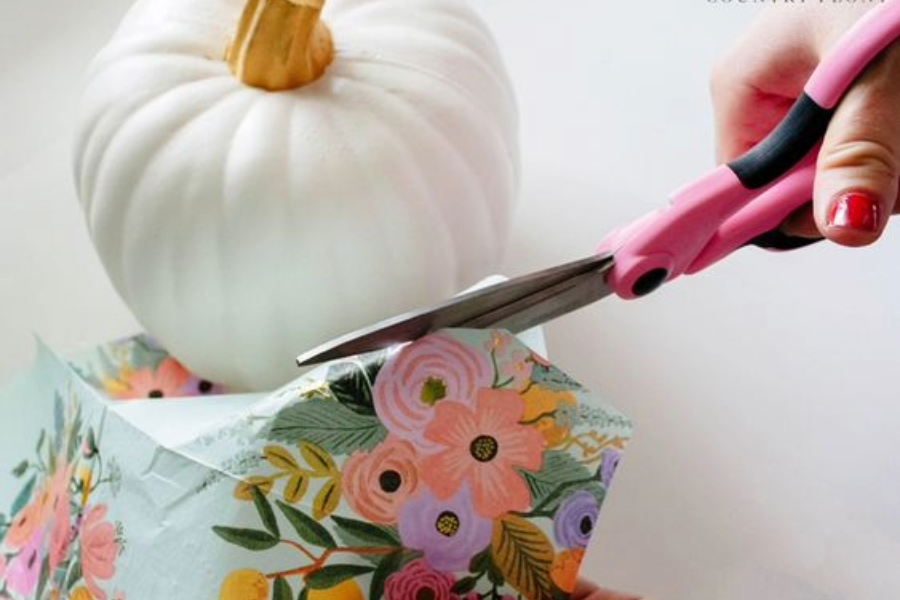
2. Prepare the Napkins
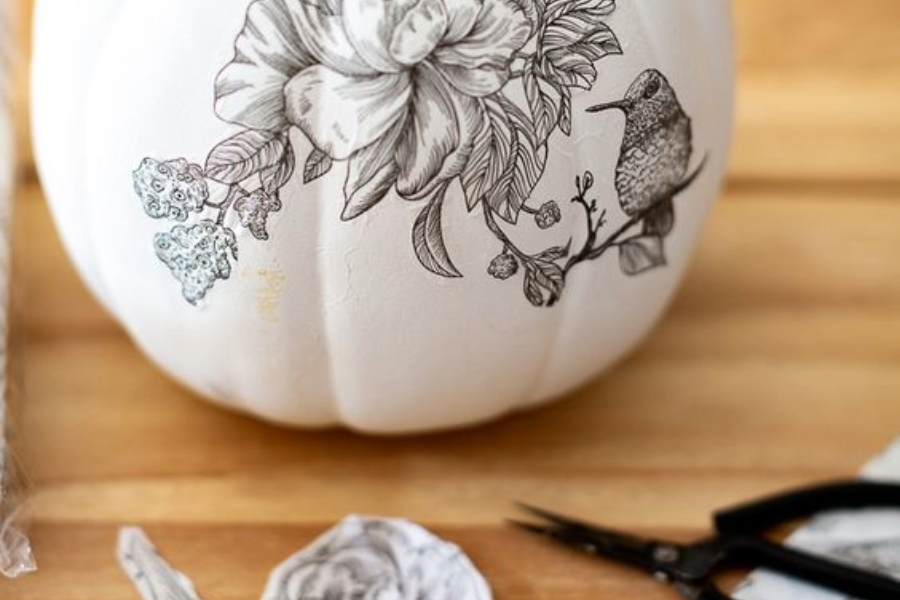
- Choose napkins with a fun fall or Halloween pattern. Cut out specific designs from the napkin or use the whole napkin.
- If the napkin is multi-ply (usually 2 or 3-ply), gently separate the top printed layer from the plain white layers. You’ll only use the printed layer for decoupage.
3. Apply Mod Podge to the Pumpkin or Decor
- Using your foam or paintbrush, apply a thin, even layer of Mod Podge to a section of the pumpkin or decor surface where you plan to place the napkin.
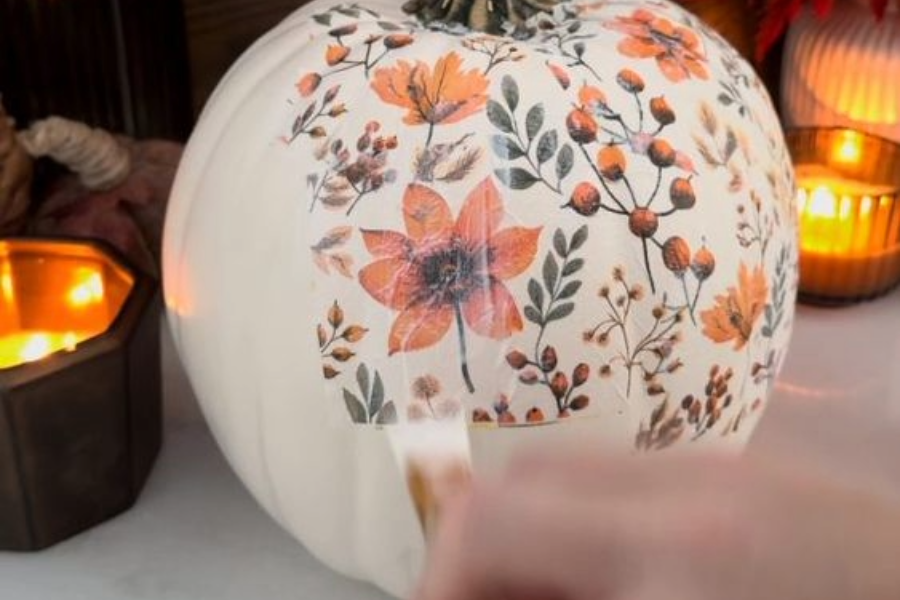
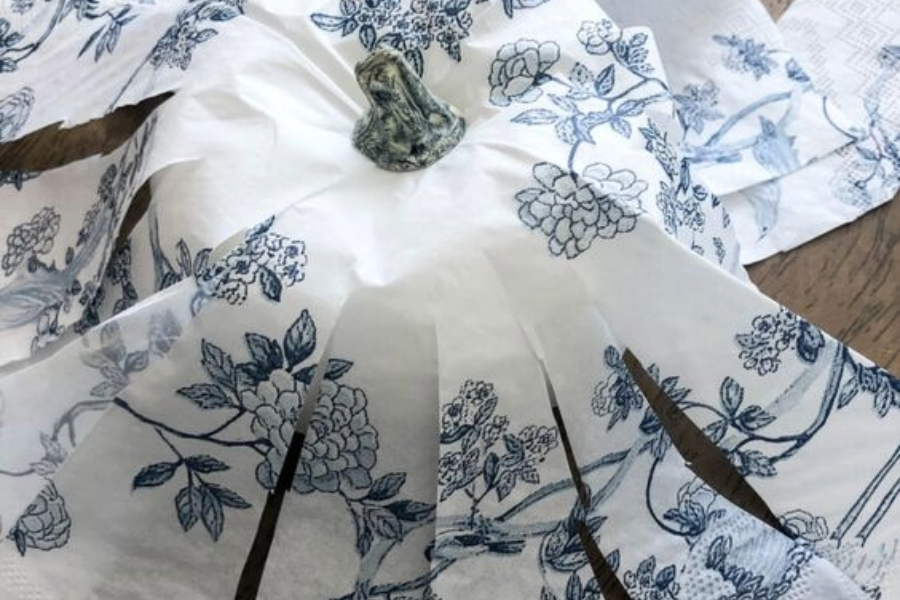
4. Place the Napkin
- Carefully place the napkin onto the Mod Podge-coated area. Press down gently with your fingers or a brush to smooth out any wrinkles. Since the napkin is thin, work slowly to avoid tearing.
- If you’re covering the whole pumpkin, do it in sections to make it easier to handle.
5. Smooth the Napkin
- Use your fingers or a soft, dry brush to smooth out any bubbles or wrinkles. Some small wrinkles are normal, especially on round surfaces like pumpkins.
- Be gentle to prevent the napkin from ripping.
6. Apply a Top Layer of Mod Podge
- Once the napkin is smoothed down, brush a thin layer of Mod Podge over the top of the napkin to seal it. Apply gently, as the napkin may become delicate when wet.
- Allow it to dry for about 15-20 minutes before handling further.
7. Repeat as Needed
- Continue applying Mod Podge and napkin pieces around the pumpkin or decor until it’s fully covered, or just add accents depending on the look you’re going for.
8. Seal the Entire Surface
- After your first layer is dry, add another coat of Mod Podge over the entire surface for extra durability and to give it a finished look.
9. Optional Embellishments
- You can add glitter, paint, or other embellishments after the Mod Podge is dry to give your pumpkin or decor item an extra Halloween sparkle.
10. Let Dry Completely
- Let your decoupaged pumpkin or decor dry for several hours or overnight before displaying.
